I was searching for a new treat to make for Valentine's Day, but more just to try something new. I came across a recipe for a home made peanut butter cup recipe. I am, of course, a big fan of the traditional Reese's cups and eat them whenever I get the chance. But, to make my own, seemed daunting. I imagined many hours of cooking and cooling and mixing and cleaning, but, alas, only about 1 hour of my Saturday morning was spent creating these delightful treats.
This is the finished treat.

I ran through the recipe, posted on design*sponge website,
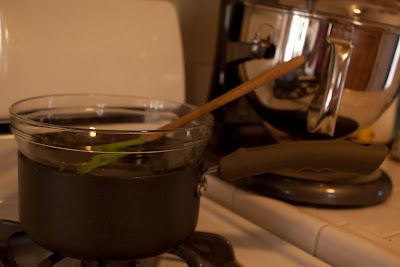
http://www.designspongeonline.com/2011/02/small-measures-chocolate-peanut-butter-cups.html. I needed a double boiler. Check, I have a glass bowl, sauce pan and a spoon. I needed peanut butter, sugar, chocolate, graham crackers, salt and powdered sugar, check. I decided to add vanilla, since I add vanilla to all my desserts.
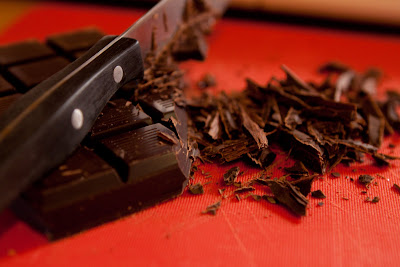
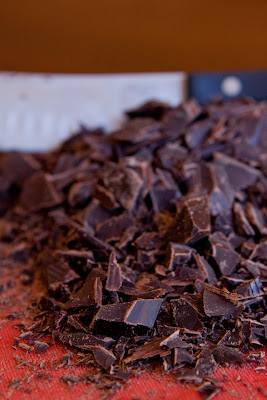
I used a mix of chocolate. I had 1 - 1 pound block of Trader Joe's Dark Chocolate. I think it was a 72% Dark. I thought this was a bit dark, so I added some semi-sweet Ghiradelli Chips to soften the richness. They are still VERY RICH still. The chocolate takes a bit of muscle, but it is well worth a good chop to reduce the melt time.
Remember-reserve half of the chocolate to melt for the tops of the cups.

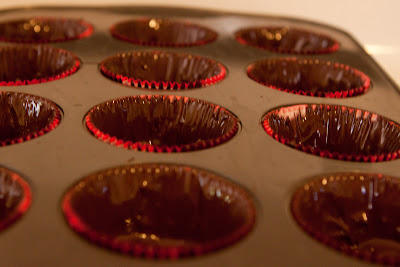
I used a silicone basting brush to coat the cups with chocolate. I highly suggest investing in one of these, as they are far easier to clean. I assume that means they are far more sanitary if you use them for eggs and meat preparations.
Ensure that you have coated the edges very well and evenly. I added a bit of extra chocolate to the bottom of each cup to ensure stability of the cup when the paper is removed. Chill the cups for at least 20 minutes to harden cups.
While the first batch of cups cooled, I prepared to melt the second half of the chocolate for the tops. I let it sit over the warm water in the double boiler to start to melt.
The peanut butter filling mix requires that you crush the graham crackers to a powder, leave no lumps or chunks, as they will remain in the peanut butter and later in your cups. I crushed my crackers by hand, but may try to use a rolling pin next time to remove more of the chunks of cracker. I also placed the peanut butter in the microwave for about 20 seconds to loosen it up. This made the mixing process go much smoother, literally.
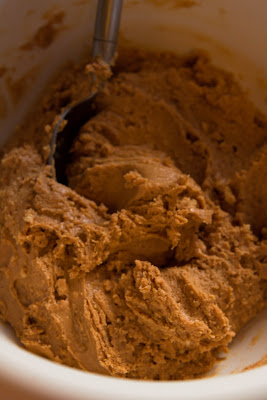
The peanut butter mixture is easiest divided up before you place it in the cups. I used a teaspoon and scooped a bit more than two heaping teaspoons for each lump of peanut butter filling. I made 24 cups and 24 little piles of peanut butter.
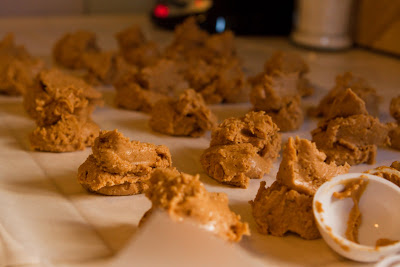
Pat each pile of filling into a flat disk or coin. The cold cups help to hold onto the peanut butter as you place them in the bottom of each cold cup. Smooth out any peaks as they will peak through the top of the chocolate later.

Melt the remaining chocolate until smooth. I portioned about 1 tablespoon of chocolate onto each cup, and added extra to the cups that were not covered. Gently shake the cupcake pan to even out the chocolate over each peanut butter filling. Allow air bubbles to pop and the top to level. You can leave the top smooth, or swirl with your spoon.
Chill the completed cups for at least 1 hour before serving or packaging. Normal cupcake sized cups are best cut into pieces before devouring, be prepared for a very luscious treat.

Even my little one couldn't wait to try them...! 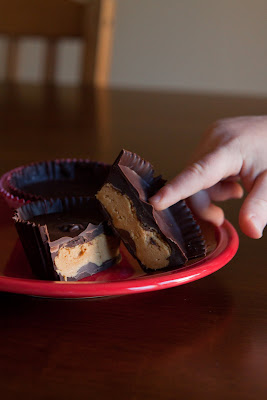
Recipe:
Makes 12 Cups (Double or triple as needed)
3 Cups Dark Chocolate (chopped or chips)
1 Cup Peanut Butter (I used smooth)
1/2 Cup Powdered Sugar (sifted)
1/4 Cup Crushed Graham Crackers
1 tsp Sea Salt
1 tsp Vanilla
Steps:
1. Melt 1 1/2 Cups of the chocolate in the double boiler.
2. Place 12 cupcake papers in a cupcake pan.
3. Coat the inside of each paper with the melted chocolate using a brush. Coat well.
4. Chill the chocolate cups for 20 minutes.
5. While the cups chill, melt the remaining chocolate over the double boiler. Keep warm but do not scorch.
6. Mix the peanut butter, powdered sugar, salt, graham crackers and vanilla until smooth.
7. Portion the peanut butter mix into each cup. Flatten the peanut butter filling with your finger.
8. Portion the remaining melted chocolate over each peanut butter filled cup. Lightly shake the pan to smooth the chocolate and remove air bubbles.
9. Chill for at least 1 hour.
10. enjoy!


